
Last updated October 16, 2026
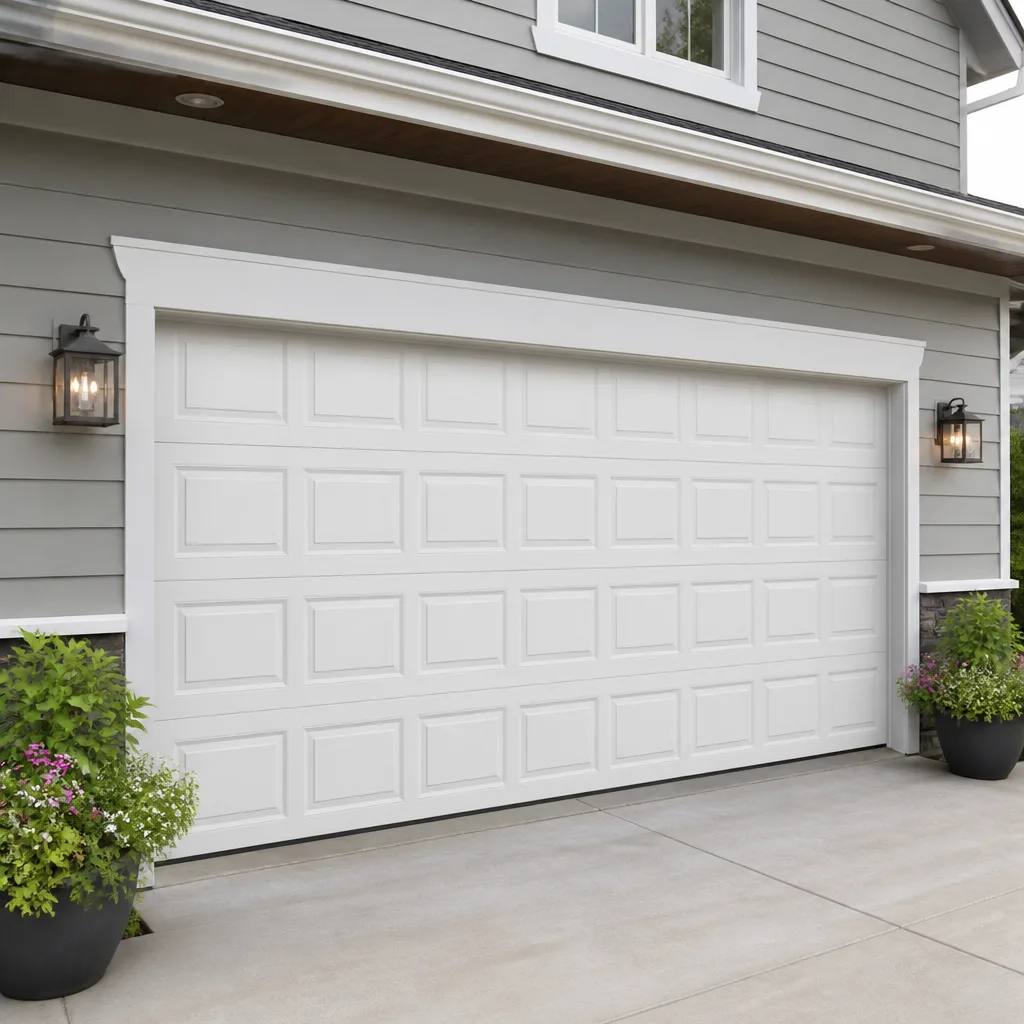 Raised-panel steel
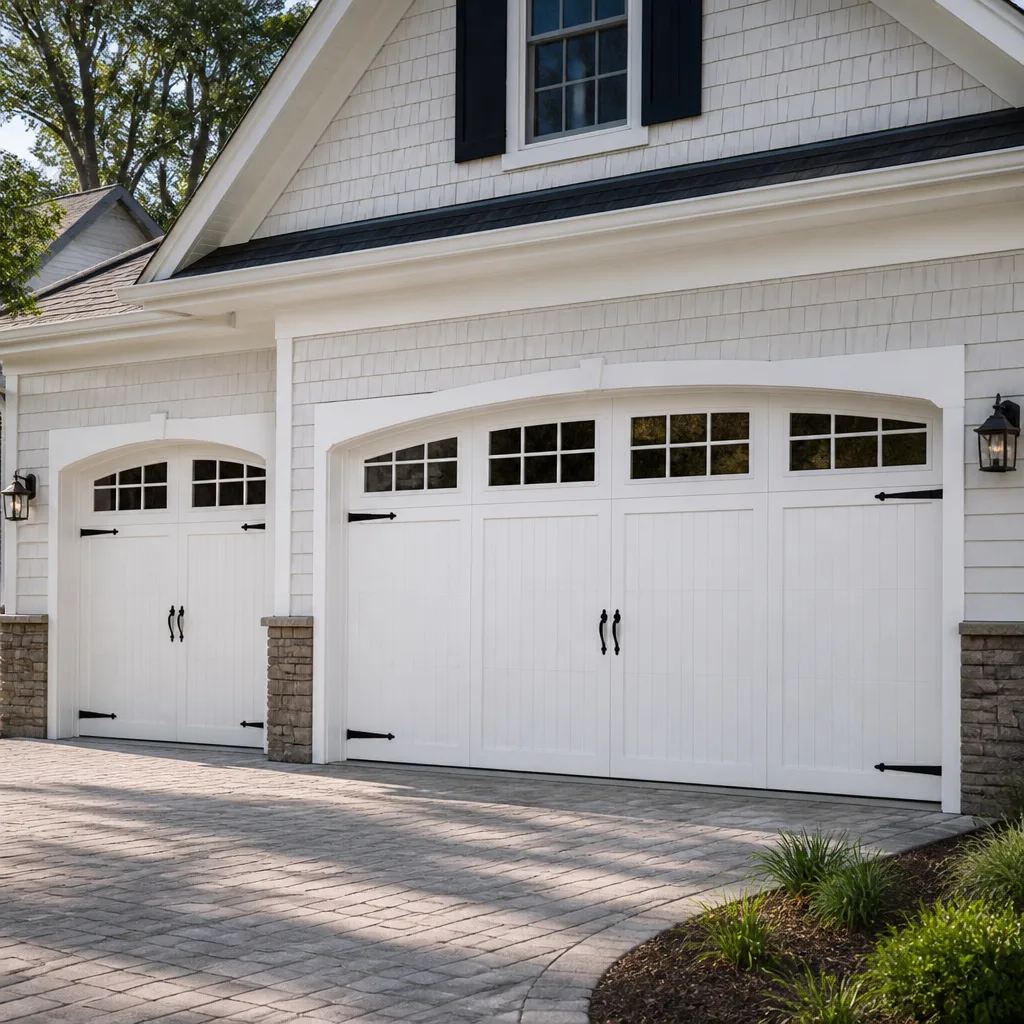 Carriage house
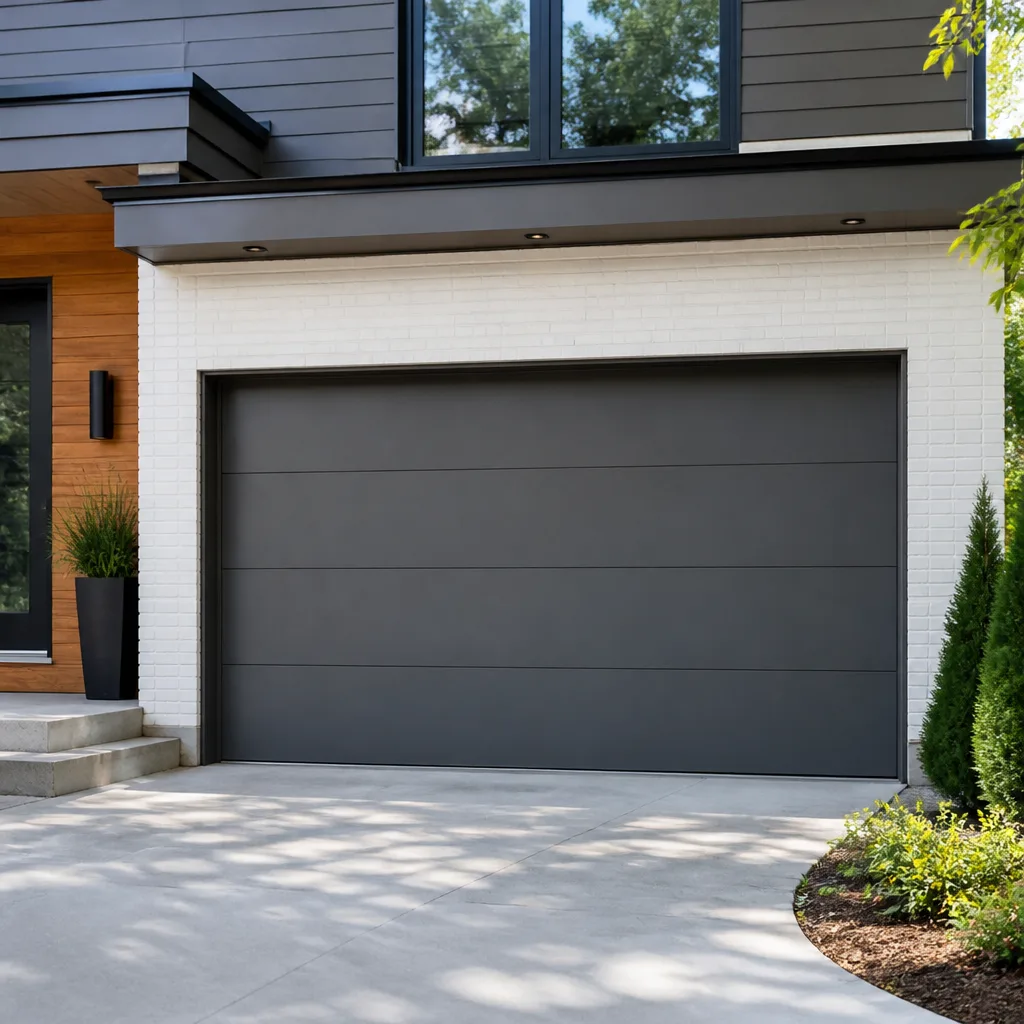 Modern flush
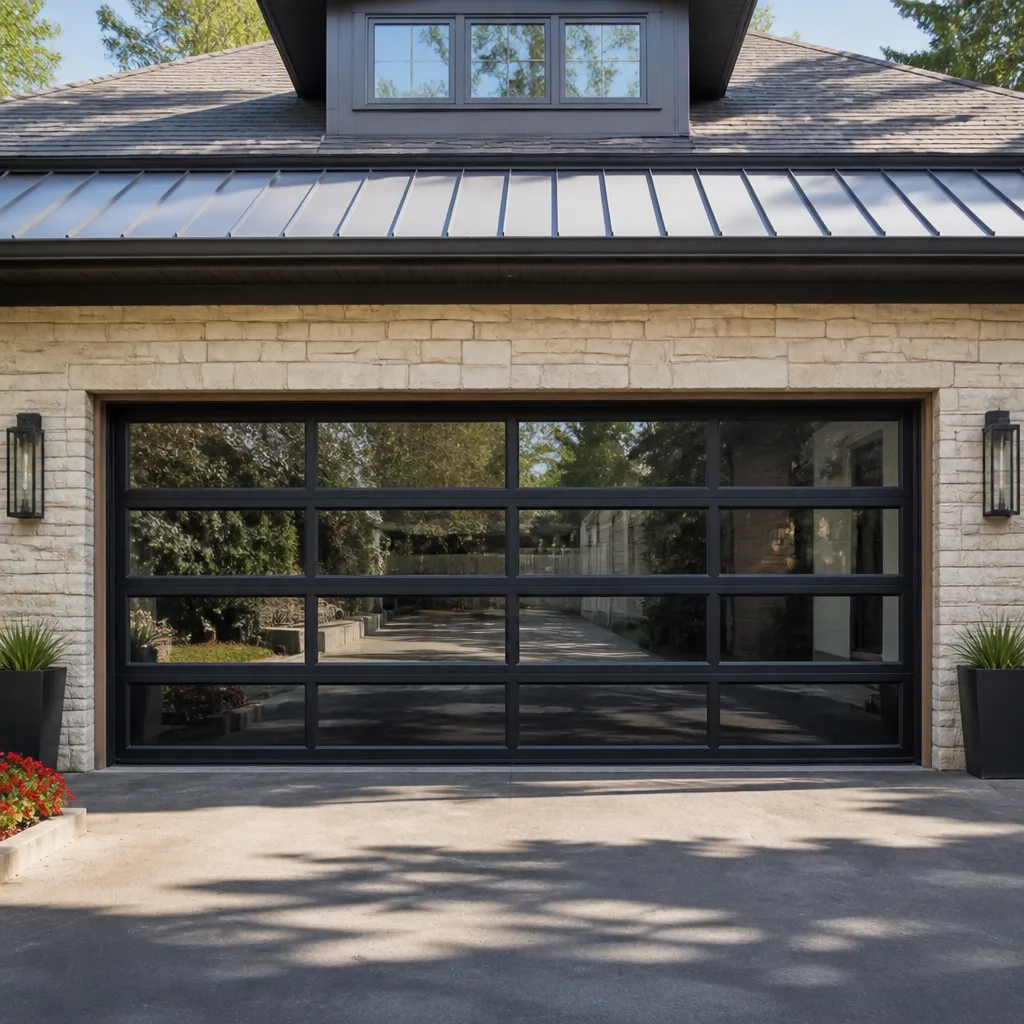 Full-view glass
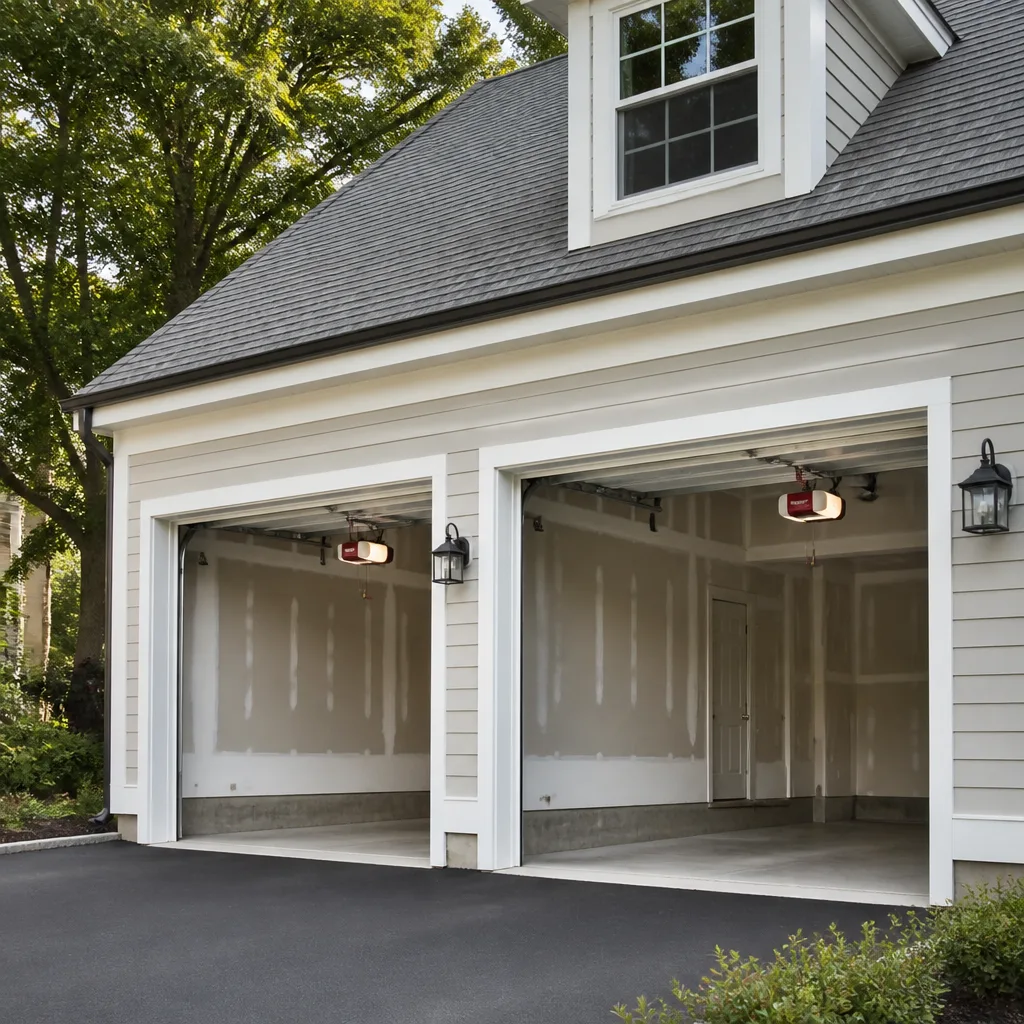 LiftMaster openers
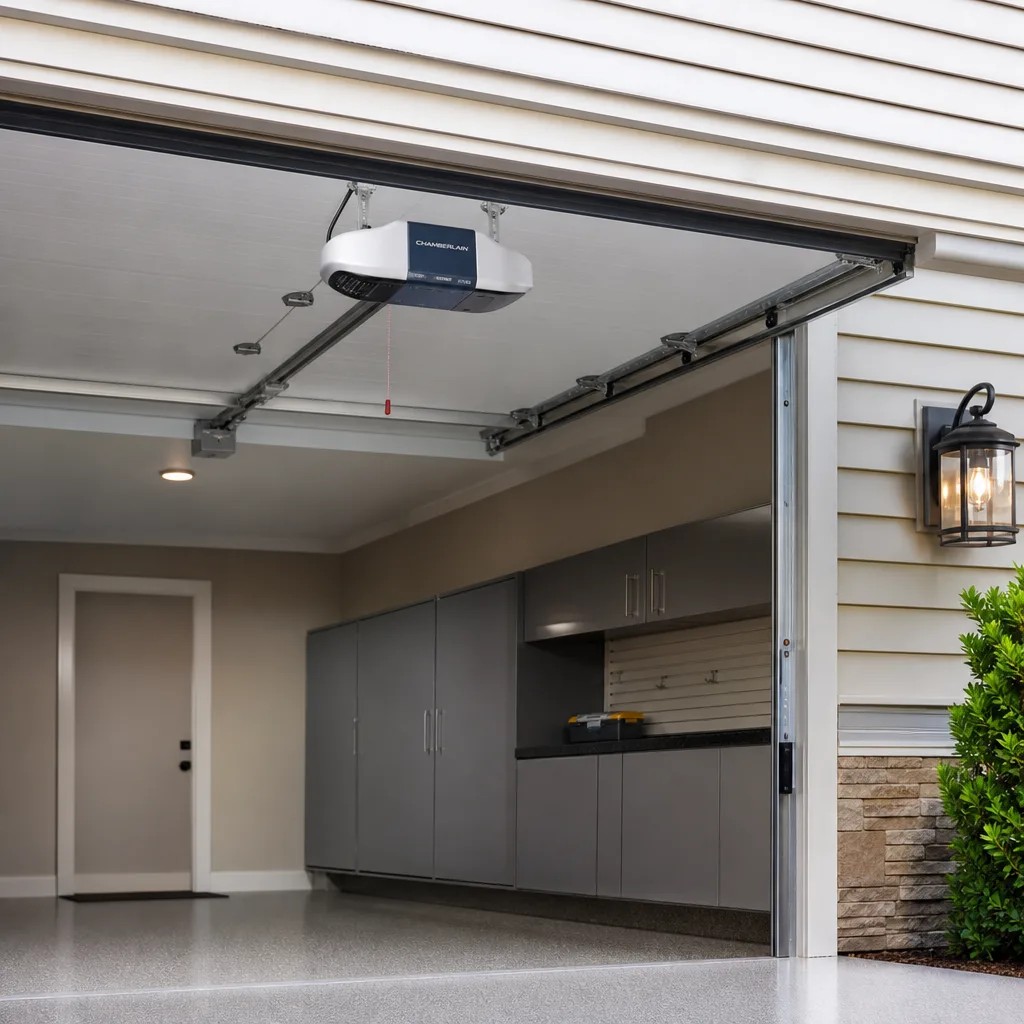 Chamberlain openers
Full 25-point door and opener safety check with every visit - springs, cables, rollers, tracks, and your LiftMaster or Chamberlain opener included
You get a price before we start. It does not change when the truck arrives.
Get your free estimateGarage Door Repair Maintenance Checklist for Marietta Homeowners
A garage door has roughly 10,000 open-close cycles in it before something significant fails. The average Marietta household burns through about 1,500 cycles a year, which means you’re on a six-to-seven-year clock that starts the day you move in. Most homeowners don’t keep a cycle log, don’t know when their springs were last replaced, and don’t realize the red Georgia clay dust settling on their tracks is quietly sanding down rollers. This guide is built from what we actually see on service calls across Marietta: humidity-swollen wood panels, sensors knocked out of alignment by garage floor heave, and springs rusted from July moisture. You’ll learn what to check monthly, what to leave alone, and when to pick up the phone.
Styles & brands we work with
Quick Answer
A proper garage door maintenance routine for Marietta homes takes about 20 minutes every three months: inspect cables and springs for rust or fraying, clear debris from tracks, tighten visible bolts, lubricate hinges and rollers with silicone spray, and test the auto-reverse safety feature. Tasks involving torsion springs, cable replacement, or track realignment should always go to a trained technician because those components are under extreme tension. Most residential garage door repairs in Marietta run $150 – $280 for spring replacement and $95 – $180 for a service call that catches a minor issue before it becomes a full door replacement.
Table of Contents
- Why Marietta Garage Doors Fail Differently
- Safety First: The Rule of Thirds
- The Monthly Homeowner-Safe Checklist
- What to Lubricate, What to Leave Alone
- The Auto-Reverse Test: 60 Seconds That Matter
- Rust, Humidity, and Spring Life in Marietta
- The Maintenance Log Sheet
- Common Mistakes to Avoid
- When to Call a Professional
- Frequently Asked Questions
- The Bottom Line
Why Marietta Garage Doors Fail Differently
Marietta’s climate punishes garage doors in three specific ways that generic maintenance guides rarely mention. First, summer humidity sits above 70% from June through September, which means steel springs and hardware develop surface rust faster than they would in a drier climate. That rust isn’t cosmetic; on an extension spring, it creates pitting that concentrates stress and leads to sudden breaks. Second, the red clay soil that defines Cobb County finds its way onto garage door tracks every time a car pulls in wet. That dust mixes with lubrication to form an abrasive paste that grinds down nylon rollers and scores metal tracks. Third, Marietta’s clay-heavy soil expands and contracts with seasonal moisture shifts, and the concrete slab under most attached garages shifts with it. When the slab moves even a quarter inch, the photo-eye sensors mounted near the floor fall out of alignment, and suddenly the door refuses to close.
We’ve replaced garage door openers in homes near Marietta Square that failed not because of a power surge but because the operator’s limit switch had been fighting a door that no longer traveled smoothly on its tracks. The opener burned out trying to do a job the track should have done. That’s the failure pattern we see most in this city: not catastrophic spring breaks, but slow degradation that homeowners ignore until the opener gives up. If you’re starting from scratch with a Bramwell Garage Doors Marietta home that’s new to you, the first thing to establish is a baseline of how the door sounds, how fast it moves, and how it reverses.
Wood panel doors, common in older Marietta neighborhoods like Whitlock Heights and Indian Hills, absorb humidity and swell. That swelling changes the door’s weight and balance, which forces the springs to work harder and the opener to strain. A door that scrapes the frame in August may fit fine in January, but each summer of scraping shaves life off the hinges and the operator. Understanding which failure pattern applies to your door is the first step in Garage Door Repair in Marietta that actually lasts.
Safety First: The Rule of Thirds
Every garage door maintenance task falls into one of three categories: safe for a homeowner to do alone, risky enough that it requires specific precautions, or flat-out dangerous and reserved for a trained technician. This isn’t a suggestion to make a company look necessary. It’s the reality of how garage doors are built and where the energy is stored.
Homeowner-Safe Tasks
- Visual inspection of cables, springs, hinges, and rollers
- Clearing debris from the tracks with a dry cloth or brush
- Tightening visible bolts and screws on hinges and brackets
- Lubricating hinges, rollers, and bearing plates with silicone spray
- Testing the auto-reverse feature and photo-eye sensors
- Checking weatherstripping along the bottom of the door
- Recording observations in a maintenance log
Homeowner-Risky Tasks (Proceed with Caution)
- Adjusting the opener’s force settings or limit switches without understanding what they control
- Removing and cleaning the photo-eye lenses while the opener is plugged in
- Replacing the weatherstripping on a door that has sharp metal retainer edges
- Using a ladder to reach hardware above head height
Technician-Only Tasks (Do Not Attempt)
- Adjusting, tightening, or replacing torsion springs
- Releasing tension from extension spring systems
- Replacing lift cables or attempting to remove a cable that has come off the drum
- Realigning tracks or replacing track brackets
- Diagnosing electrical failures inside the opener motor housing
The core distinction is simple: if a part stores energy, it’s not yours to touch. Torsion springs, the coils mounted above the door opening, hold enough tension to lift hundreds of pounds. When they release unexpectedly, the result is serious injury. The same applies to lift cables, which carry the door’s full weight under constant tension. If you’ve noticed a cable beginning to fray in Marietta’s humid air, the correct move is to stop using the door and call a professional who can replace it safely. Our owner Marcus Ellery has Garage Door Spring Repair in Marietta as one of the most common calls we take from homeowners who spotted the problem early but then made things worse by trying to fix it themselves.
The Monthly Homeowner-Safe Checklist
Set aside twenty minutes on the first Saturday of each month. The whole point is consistency, because a door that changes gradually will never announce itself all at once. Here’s the exact sequence we recommend for Marietta homeowners.
- Close the door and pull the manual release handle. This red cord hanging from the opener disconnects the door from the trolley. Manually lift the door to waist height and let go. The door should stay in place or drift very slowly. If it falls, the springs are under-tensioned or broken, and you should stop using the door. Reconnect the opener by pulling the release handle again and running the opener until it latches.
- Examine both torsion springs. This is the coil mounted above the door. Look for rust, especially around the ends of the coil where moisture collects. Surface rust is normal on older doors. Deep pitting, flaking, or a visible gap in the coil means the spring has broken or is about to. Do not touch it. Call a technician.
- Check the lift cables. Running along each side of the door are steel cables that connect the bottom corners to the drums above. Look for broken strands, kinks, or rust at the bottom bracket. A frayed cable can snap without warning.
- Clear the tracks. Using a dry microfiber cloth, wipe the inside of both vertical tracks. You’re removing red clay dust, pollen, and spider webs, not applying anything. Do not use grease or oil on the tracks.
- Tighten fasteners. A 7/16-inch wrench will handle most garage door bolts. Start with the hinges connecting each panel, then move to the track brackets bolted to the wall. You’re looking for loosened but not stripped threads. If a bolt spins freely, note it in the log.
- Inspect the weatherstripping. The rubber strip along the bottom of the door keeps out rain, leaves, and the pine pollen that blankets Marietta every spring. If it’s cracked, brittle, or missing sections, plan to replace it. On most doors this is a homeowner-safe fix, though the retainer channel has sharp edges that demand gloves.
- Run a visual on the rollers. Nylon rollers are quieter and resist rust better than steel, but both types wear. Look for flat spots, wobble, or visible ball bearings. A roller that’s wearing out makes a chattering sound as the door moves.
- Test the opener’s manual disconnect and re-engage. After you’ve reattached the door, run a full open-close cycle and listen. New noises are almost always the first symptom of a problem you can still fix cheaply.
This checklist assumes a standard sectional overhead door like the ones sold by Clopay and Amarr. If your Marietta home has a one-piece tilt-up door, the spring system works differently and several of these inspection points don’t apply. When in doubt, call a company that services your specific door type before attempting anything beyond a visual check.
What to Lubricate, What to Leave Alone
Lubrication is the one maintenance task homeowners get wrong more than any other. The mistake isn’t skipping it; it’s using the wrong product in the wrong place. Most hardware store shelves stock a dozen sprays that sound right but actually accelerate wear.
Here’s the complete guide for a standard LiftMaster or Chamberlain opener with a sectional door:
| Component | Product | Frequency | Notes |
|---|---|---|---|
| Hinges (panel joints) | White lithium grease or silicone spray | Every 3 months | Apply to the pivot point only. Wipe excess. |
| Rollers | Silicone spray | Every 3 months | Do not lubricate nylon roller wheels themselves; only the bearing shaft. |
| Torsion spring | Silicone spray or dedicated spring lubricant | Every 6 months | Apply along the coil. This reduces rust and friction. Never use grease. |
| Bearing plates (end brackets) | White lithium grease | Every 6 months | Small dab at the bearing center. Do not over-apply. |
| Tracks | Nothing. Clean only. | Monthly wipe | Lubricant on tracks collects red clay dust and creates abrasive paste. |
| Limit switch contacts | Nothing. Ever. | Never | Lubricating limit switch contacts causes opener malfunction. |
| Photo-eye lenses | Nothing. Dry wipe only. | Monthly | Use a dry, lint-free cloth. No cleaners, no sprays, no glass cleaner. |
The red clay dust that coats Marietta driveways and cars also finds its way into garage door tracks within days of a rain. When that dust mixes with WD-40 or general-purpose grease, it forms a gritty slurry that grinds components faster than no lubrication at all. If the previous owner or a previous handyman used grease, clean the tracks thoroughly with a dry cloth and do not replace it with anything. For the rollers, a nylon wheel doesn’t need lubrication; the bearing inside does. A quick shot of silicone spray at the point where the shaft meets the wheel is enough.
One product to avoid everywhere on a garage door: penetrating oil. It’s designed to break rust loose, and while that sounds helpful, it also strips the protective coating that keeps springs from rusting in the first place. If you notice your springs are already rusted, lubricate with silicone and call a technician to assess whether they need replacement before they break under load.
The Auto-Reverse Test: 60 Seconds That Matter
The auto-reverse mechanism on your garage door opener is the single most important safety feature in your garage. It’s also the one that fails silently. Here’s how to test it, what the results mean, and what to do next. This applies to openers from LiftMaster, Chamberlain, Genie, and Craftsman alike.
The 60-Second Test:
- Place a 2×4 piece of lumber flat on the floor directly under the door’s center path.
- Press the button to close the door normally.
- Watch what happens when the door contacts the wood.
- The door should reverse direction within two seconds of contact and return to the fully open position.
That’s the mechanical force test. There’s also a photo-eye test:
- With the door open, press the close button.
- Wave your foot across the path of the photo-eye beam (the small sensors mounted about six inches off the floor on either side of the door opening).
- The door should stop and reverse immediately, before it reaches the sensor line.
A passing force test means the opener’s internal slip clutch or force sensor is working correctly. A passing photo-eye test means the light beam between the sensors is intact and the sensors are aligned. If the door fails either test, the problem falls into one of three categories. First, the force adjustment screw on the opener may be set too high. Second, the sensors may be misaligned, which happens often in Marietta because clay soil heave shifts the concrete pad and knocks the sensor brackets out of level. Third, the opener’s logic board may be failing, which can cause the door to reverse for no reason or, worse, not reverse when it should.
If your door fails the reverse test, stop using the door in automatic mode. Disconnect the opener and operate the door manually if you must use it. Then call a technician. A door that won’t reverse is a safety issue, not a convenience issue. The auto-reverse is also a diagnostic window. A door that reverses halfway down or reverses immediately after starting often has a force-setting problem rather than a spring problem. A technician can distinguish the two in about ten minutes with a door that’s been running on too high a force setting for too long may have already damaged the opener’s internal gears.
Rust, Humidity, and Spring Life in Marietta
Every garage door spring has a finite lifespan measured in cycles, not years. A standard torsion spring is rated for roughly 10,000 cycles, though cheaper springs are built for only 5,000. A cycle is one complete opening and closing. In Marietta, where most homeowners use their garage door as the primary entry and exit point, the average household puts about four cycles a day on the door. That’s 1,460 cycles a year. A 10,000-cycle spring lasts just under seven years in normal conditions. A 5,000-cycle spring lasts about three and a half.
Marietta’s humidity changes that math. Rust doesn’t reduce the spring’s cycle rating the way ice on a road reduces your tire grip; it creates stress risers, small pits in the metal where cracks can start. A torsion spring that would have made it to 10,000 cycles in a dry climate may snap at 7,000 or 8,000 in a humid one. The same is true for extension springs, the older style mounted on either side of the door that are more common on homes built before 1990. Extension springs rust externally, and because they stretch and contract, that rust gets worked into the coil every time the door moves.
Rust detection is straightforward. Look at the spring’s surface under a bright light. Uniform brownish-orange film is surface rust and, while not great, doesn’t indicate imminent failure. What you’re looking for is deeper corrosion: pitting, flaking scale, or areas where the metal appears rough and scaly instead of smooth and round. If you see that, the spring is compromised. It may last another six months, or it may break next week. In our experience serving Marietta, a rusted torsion spring rarely announces itself verbally; it snaps when you’re halfway out the driveway on a Tuesday morning.
The practical takeaway: if your springs are more than five years old in a Marietta home, you’re living on borrowed time. Ask a technician to inspect them. Most Garage Door Installation in Marietta crews will check spring condition as part of any service call, and if you’re scheduling a new door installation, insist on higher-cycle springs. The cost difference between a 10,000-cycle spring and a 5,000-cycle spring is usually $40 – $80 per spring, but it doubles the service interval. Over the life of a door, that’s the cheapest longevity upgrade available.
The Maintenance Log Sheet
Here’s a practical tool that costs nothing and saves money on every future service call: a single sheet of paper taped to the inside of your garage door or pinned to the wall beside the opener. On it, record four pieces of information.
- Date of spring replacement. This is the most important number in your garage. When a technician replaces your springs, ask them to write the date and the spring’s rated cycle count on the work order, then copy both onto your log.
- Monthly observation notes. One line per month. “No change.” “New squeak on right hinge.” “Cable looks furry near bottom bracket.” These notes create a timeline that helps diagnose problems.
- Any repair or maintenance performed. Date, what was done, who did it, and what it cost. If a part fails under warranty, this log is your proof of proper maintenance.
- Open-close cycle estimate. You don’t need to count every cycle. Estimate four per day. If you know a door has been in place since 2019 and it’s now 2026, you’re at seven years and roughly 10,000 cycles. That’s replacement time for the springs if they’ve never been changed.
When you call a repair company and say, “Springs were replaced in June of 2023, and the door has been making a grinding sound since last month,” you’ve given them actual diagnostic information that saves time and money. A technician who arrives knowing the springs are recent can rule out spring fatigue and focus on opener alignment or roller wear. That’s the difference between a $120 service call and a $400 parts-swapping expedition.
Common Mistakes to Avoid
- Lubricating the tracks with grease. Grease attracts the red clay dust that coats everything in Marietta and forms an abrasive slurry that damages rollers and creates the exact friction problems you were trying to solve. Tracks should be clean and dry, always.
- Adjusting torsion spring tension yourself. This is not a negotiable safety rule. Torsion springs store enough energy to seriously injure or kill an untrained person. If the door is unbalanced, call a professional.
- Ignoring a door that’s slower than it used to be. Speed changes on an automatic opener usually mean the opener is overworking against resistance. The resistance may be a failing spring, a binding roller, or track misalignment, and the fix is cheaper the earlier you catch it.
- Using WD-40 on any part of a garage door. WD-40 is a water displacement formula and a very light lubricant that evaporates in days. It strips protective coatings and provides no lasting lubrication on the high-load parts of a door. Use silicone spray or white lithium grease instead.
- Assuming a loud door is normal. A garage door is not supposed to sound like a freight train. New grinding, squealing, or banging almost always corresponds to a specific component: a dying roller, a dry bearing, or a loose bracket. Quiet operation is a realistic standard, not a luxury.
- Replacing weatherstripping without checking the retainer. The metal channel that holds the bottom seal in place has edges sharp enough to cut through work gloves. If the channel is bent or rusted, replacing a seal becomes a two-person job and might require channel replacement too.
- Failing to test auto-reverse after any repair. If a technician changes your springs, adjusts your opener, or replaces a bottom bracket, run both reverse tests before they leave the driveway. A door that reversed fine on Monday should still reverse fine on Tuesday.
When to Call a Professional
The rule we give every homeowner is simple: if the part stores energy or creates a falling hazard, it’s a professional job. That means broken or rusted torsion springs, frayed lift cables, track adjustment, and opener electrical faults all qualify. It’s also time to call when the door fails the auto-reverse test, when the door is noticeably unbalanced, or when you hear a sound you haven’t heard before that you can’t pinpoint. Most service issues are cheaper to fix before a secondary failure happens; a broken spring that goes unaddressed for a week will eventually damage the opener too. Bramwell Garage Doors Marietta offers free estimates in Marietta, and a quick call to (912) 520-4208 is cheaper than a full replacement door.
When you do call, Garage Door Repair in Marietta through Bramwell means you’ll get a written price before any work begins. That’s the Kingswell standard: a real arrival window, a fixed price in writing, a clean job site, and a written guarantee on every repair. The 365-Day Done Right Promise means if the repair fails within a year, we come back and fix it at no charge. That commitment is in writing, not just spoken at the door.
Frequently Asked Questions
A quarterly schedule works well for most Marietta homeowners: inspect cables, springs, and hardware every three months, lubricate hinges and rollers, and run the auto-reverse test. Monthly track wiping during the humid summer months is worth the five minutes it takes because red clay dust accumulates quickly.
A DIY maintenance pass costs about $15 in supplies: a can of silicone spray, a can of white lithium grease, and a microfiber cloth. Professional tune-up services in Marietta typically run $95 – $180 and include spring inspection, track cleaning, lubrication, and a safety test. Call (912) 520-4208 for current pricing.
Yes, with the right products. Use silicone spray on springs and nylon roller bearings, white lithium grease on steel hinges and bearing plates, and keep all lubricants off the tracks and photo-eye lenses. Never use WD-40, which strips protective coatings and provides no lasting lubrication.
Look for deep rust pitting, flaking scale on the coil surface, or a visible gap in a torsion spring. A door that’s suddenly heavy when you pull the manual release also points to weakened springs. If you spot any of these, stop using the automatic opener and call a technician before the spring snaps under load.
A passing test confirms the opener’s force sensor and photo-eye beam are working. A failing test can mean misaligned photo-eye sensors, usually from slab movement, or a force setting that’s been turned up too high. Either way, the door is unsafe until a technician diagnoses the cause.
Even new doors benefit from a seasonal inspection, especially in Marietta. Break-in wear on new springs, cable seating, and weatherstripping compression all happen in the first six months. If you’re considering Garage Door Installation in Marietta, ask about a first-year checkup and make sure the installer records the spring’s cycle rating in your log.
The Bottom Line
Garage door maintenance in Marietta isn’t complicated, but it is specific. The humidity that rusts springs, the clay dust that fouls rollers, and the shifting slab that knocks sensors out of alignment are all local realities that a generic checklist ignores. The maintenance routine that works here is quarterly: inspect for rust and wear, lubricate only the right components, test auto-reverse every time you do a full check, and keep a written log of every repair. When a task involves stored energy or height, call a professional. Most Marietta homeowners will spend $15 a quarter on supplies and one $150 service call every few years if they maintain consistently, versus $500 – $900 for emergency spring replacement and opener repair if they don’t.
Written by Marcus Ellery, Owner at Bramwell Garage Doors Marietta, serving Marietta since 2001.
See the difference
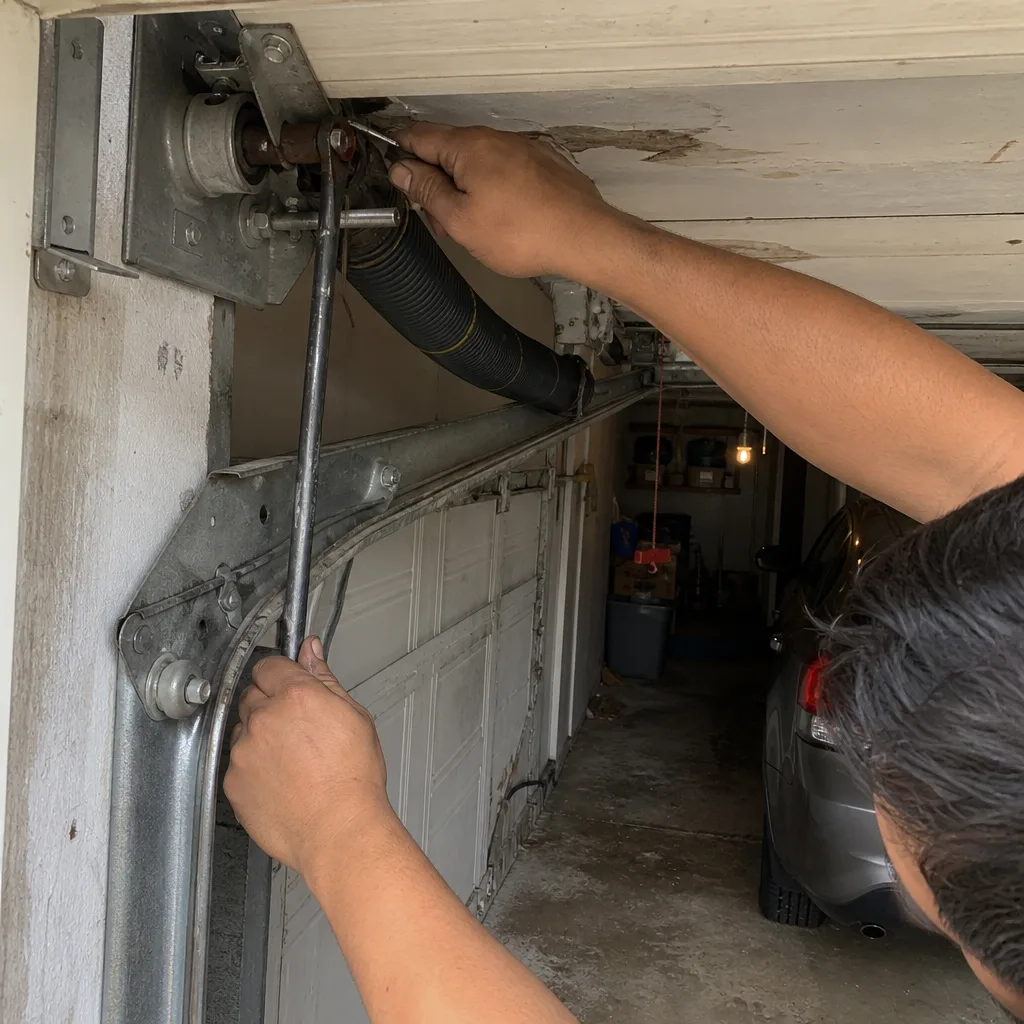 Before
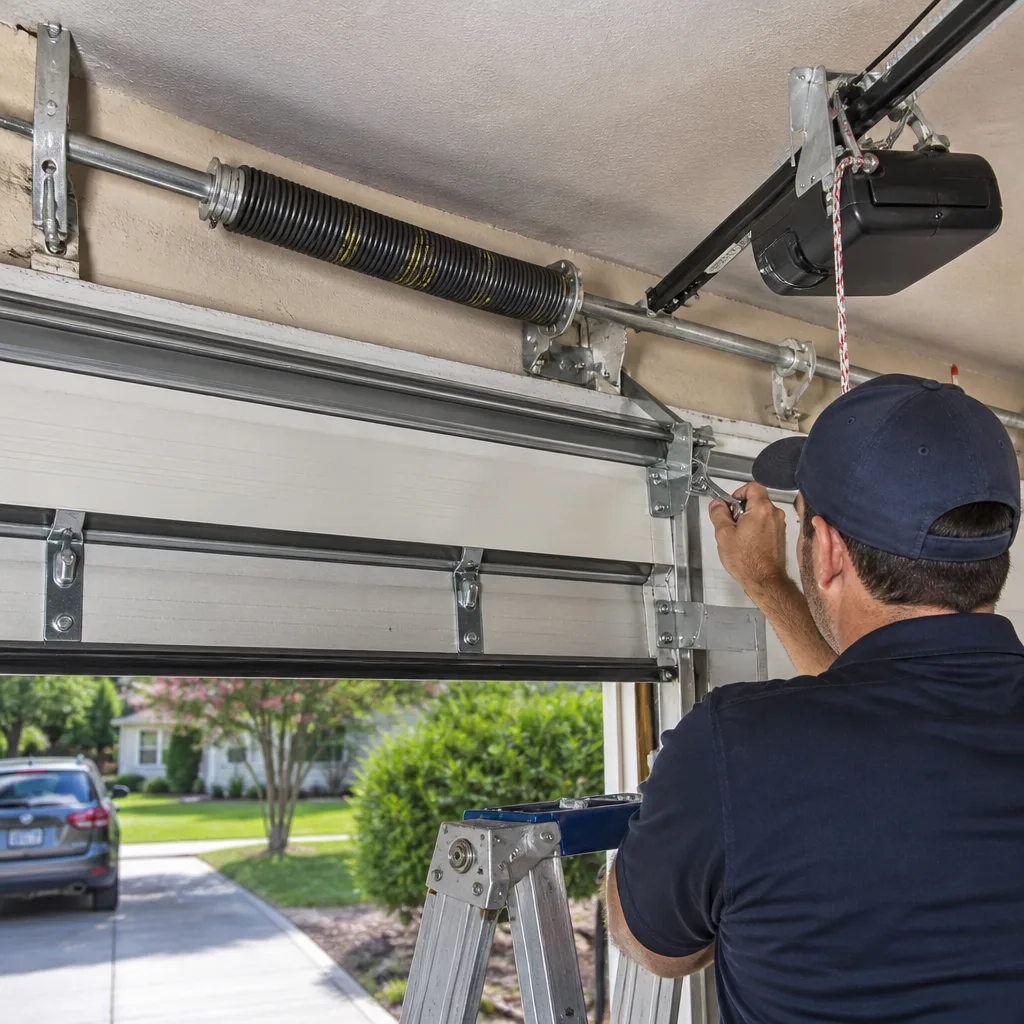 After
After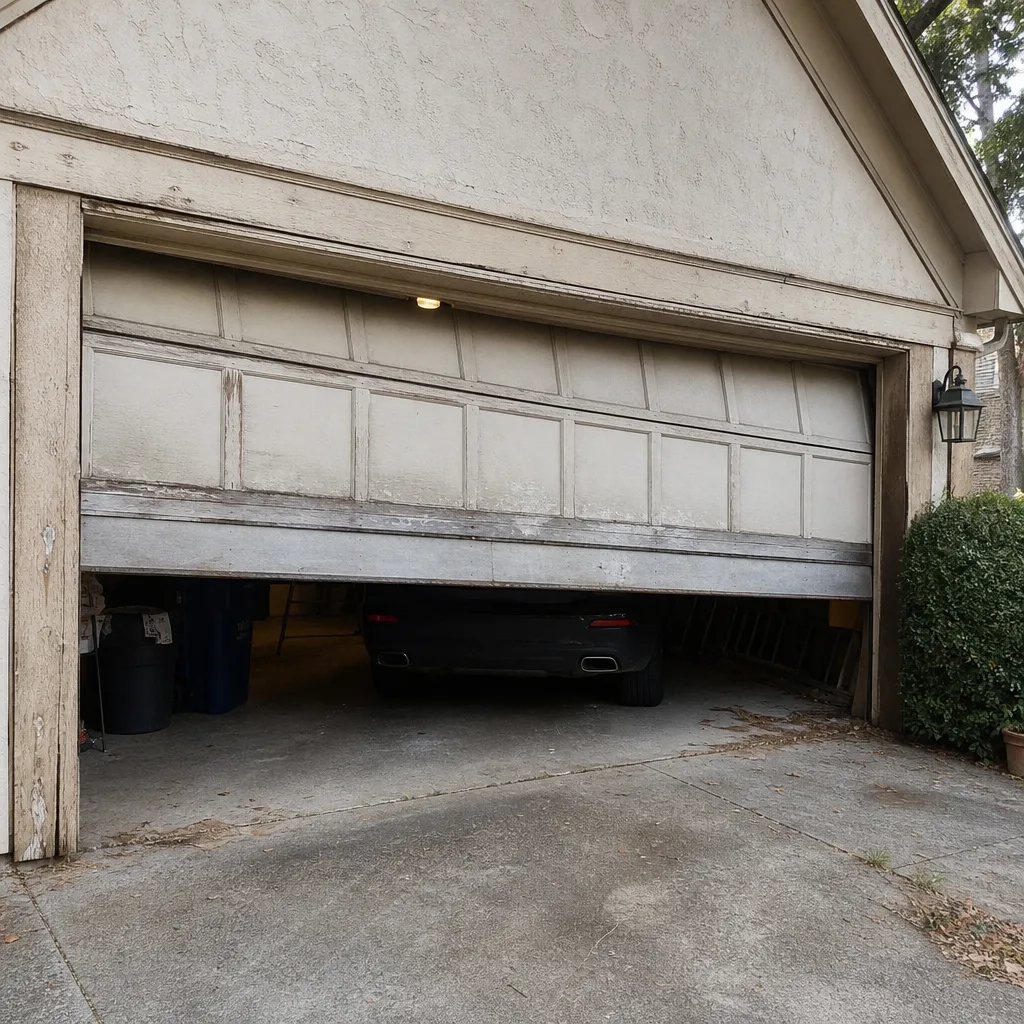 Before
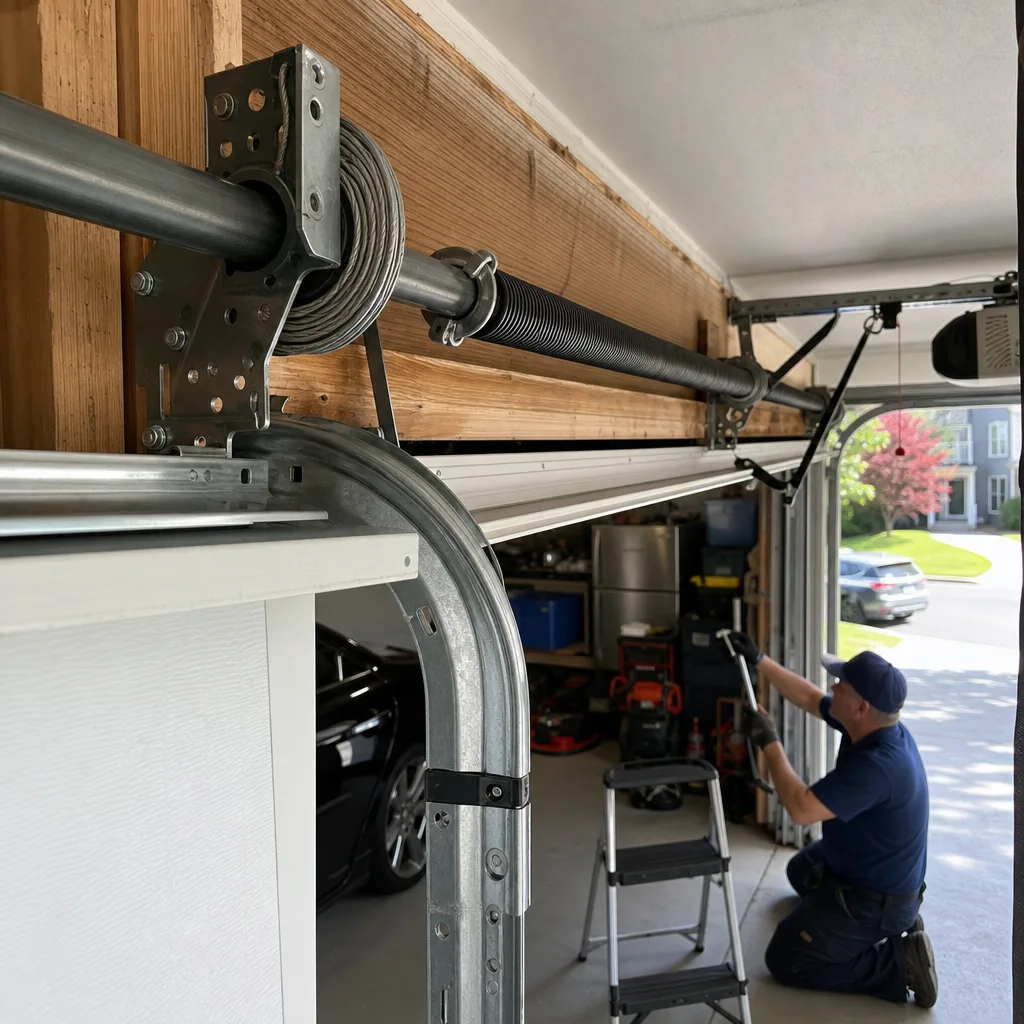 After
After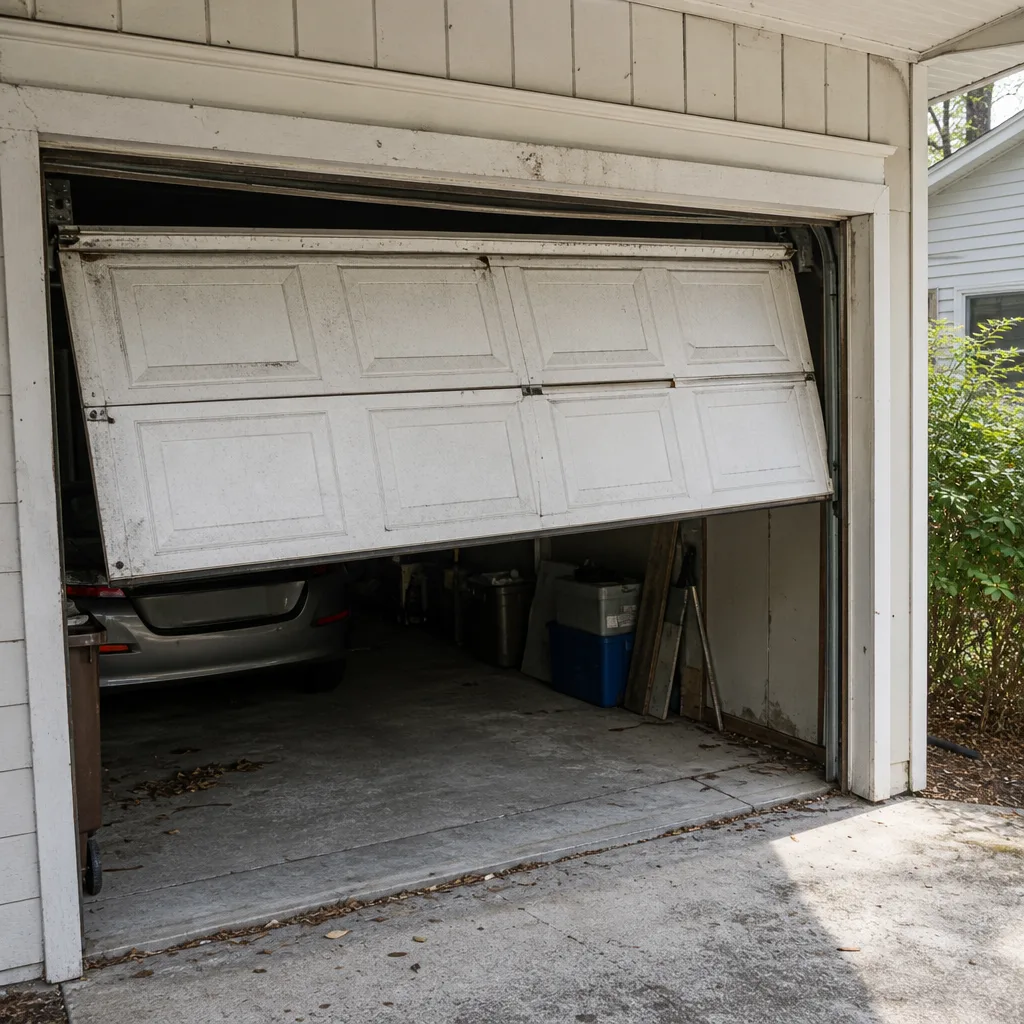 Before
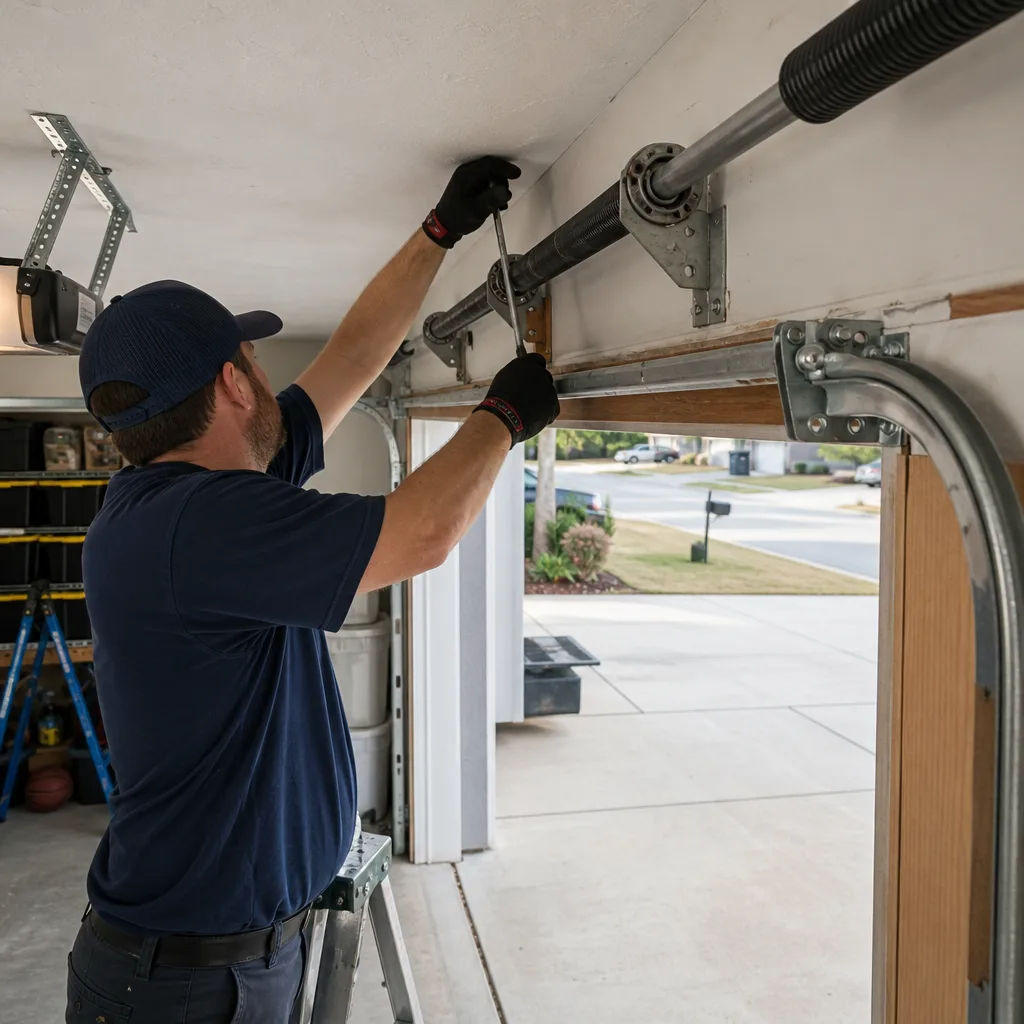 After
After